
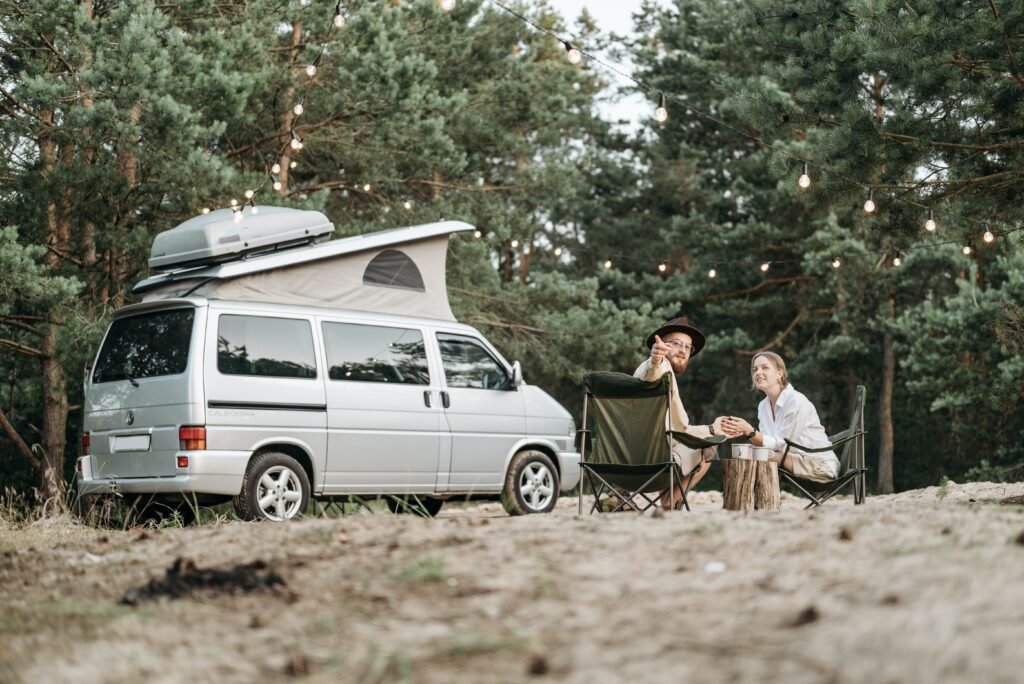
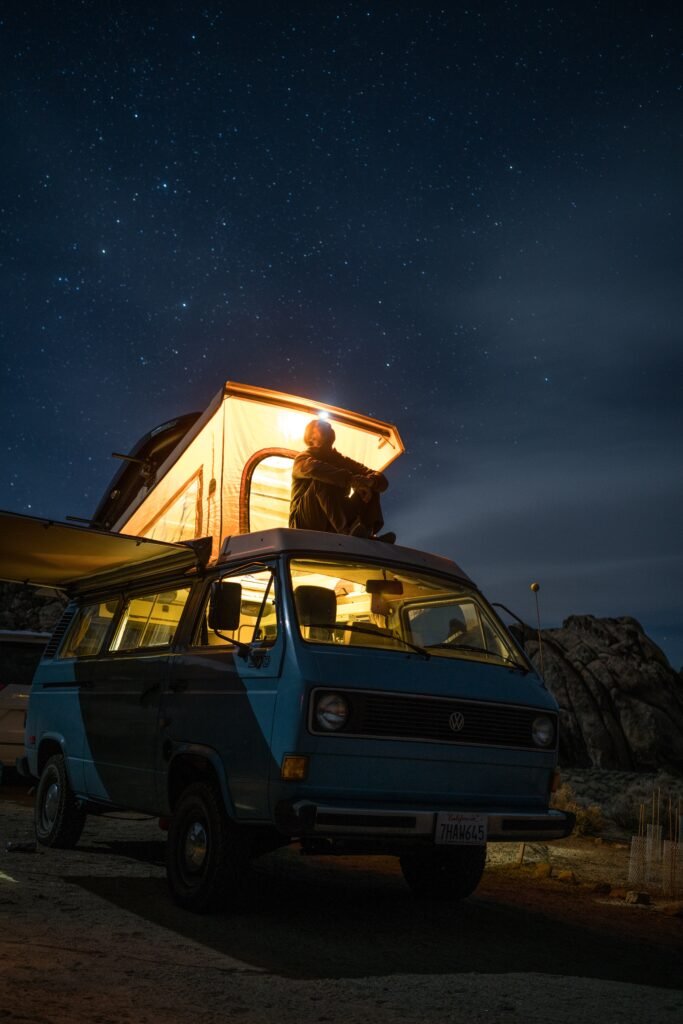
Do you despise Formica countertops and beige walls but are anxious to live in a van? You might want to finish your own camper conversion, then. Building your own campervan allows you to incorporate any design element into your tiny house, like wood paneling, Moroccan-style tiling, all-white or multi-colored furnishings, a fixed bed, a fireplace, and more. The options are virtually limitless.
Here are some tips for building a camper van to perfection,
01-Simply draw

After you have purchased your van, it is a good idea to precisely measure the entire vehicle. By doing so, you can create scale models of many possible camper layouts. Play a bit with the structure and main features to determine how much you may fit in your new small home and where items like the fridge, bed, and toilet can go while working to scale.
Obtain the measurements for any goods, such as a fridge, that you are certain you would like in your camper transformation so that you are aware of how much room they will occupy. It’s a great thing to do this with as many objects as you can so you can utilize the space and design around them. Accurate dimensions are crucial when building a campervan since every square inch matters!
02-Make your design clear
It’s time to enter your vehicle once you’ve decided on the final design. Bring a measuring tape, some masking tape, and your notebook to precisely mark out the dimensions of your design. Grab some cardboard boxes and create a 3-D layout if you want to be really fancy. By doing this, you can start to truly get a sense of the amount of room you have and how your camper will feel after it is finished.
You’ll want to make any design adjustments at this time before construction gets underway. This is the moment to return to the drawing board and change your design if you believe that your bed needs to be broader or that you need extra floor space. Make sure you are entirely satisfied with the plan and design if you are going to build a campervan from the ground up.
03-assemble all necessary tools and materials
A saw, a drill and drill bits/screwdriver heads, sandpaper or an electric sander, and a measuring tape are the bare minimum tools required to build an adventure bus.
How fancy you go depends on your budget, but keep in mind that it can be done for a reasonable price! Once you’ve gathered all of your supplies, it’s time to go shopping for the materials that will go into creating your one-of-a-kind campervan. It’s best to purchase everything in stages in case you change your mind about any aesthetics after you’ve begun your conversion.
At the first stage, you’ll want to purchase any windows or skylights that will be installed, as well as all electrical materials and components required to construct the interior shell of the van, including the insulation that will go behind the walls. After installing the electrics, windows, interior walls, ceiling, and floor, you can begin installing
the ‘furniture’ inside the camper.
04-Adding Windows or Skylights

The first step in building a campervan is to add any extra windows or skylights that you might want to add to your tiny house; alternative living does not have to mean living in the dark ages! Some of these should be able to open so that you can let air into your van and steam out when cooking.
You must first cut a hole in your van to install windows or skylights. It is critical that you double-check your measurements before proceeding because you do not want a hole that is too large—a leaky campervan is not fun! The window should then be installed and secured to the van. To protect against rain, after installing a skylight, go around all screws and joins with waterproof sealant.
05- the floor
The next step in building a campervan is to lay the floor. Before laying your chosen flooring type over the top, you’ll want to lay a basic floor of cheap wooden boarding and insulation.
Lino is the simplest flooring to install because it is cheaper and lighter than a wooden floor and is easy to clean when in use. Other options include wooden floorboards or vinyl floorboards, which are a cross between wooden and Lino.
06-Fram for wall and ceiling
One of the first steps in building a campervan is constructing the frame. It’s a simple step: build a frame directly onto the van’s metal frame with wooden batons. The frame will be used to attach the interior walls too, which means you will not be screwing these directly into the van’s metal frame, but into the softer wood, making the job easier.
07-How to Install an Electrical System
One of the most important aspects of building a camper is installing your electrical system. However, for many people, out appears to be the most difficult job to complete and thus one you may want to postpone until the end of your build.
Unfortunately, unless you want your wires exposed or inside tubing on the outside of your camper’s interior walls, wiring must be done before the walls are built, as running wires behind already-built walls is extremely difficult.
Wiring, leisure batteries, an inverter, a fuse box, isolator switch, fuses, and, if using solar, a solar regulator, solar charge monitor, and solar panels are all required for installation.
08-Interior Walls and Ceiling Construction
When building a campervan, this is undoubtedly one of the most exciting stages because once completed, you can really begin to sense what your individual tiny homes will look like, no longer a metal can! Simply attach your chosen material, whether cladding or wooden boards, to the wooden frame to build the walls.
Remember that this will be visible (unless you cover your walls in auto-carpet) and thus must be very neat. Take your time, particularly around the windows and doors, and work with the van’s shape. Once your walls and ceiling are finished, you’ll have a good idea of how your new tiny eco house will feel!
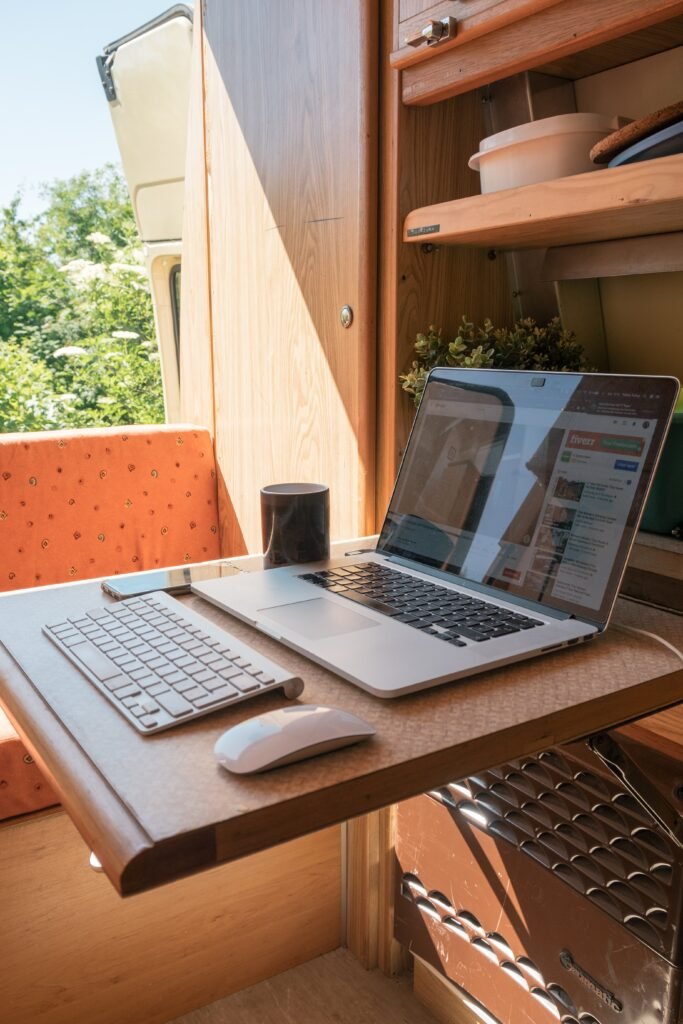
09-Creating Your Van’s Design ‘Furniture’
When building a camper, the next step is highly personalized because it is entirely dependent on the design and layout you have chosen. All of your modified camper’s chosen components must be built and/or fitted. A sink, tap, water storage, hob, cutting space, and storage space for food and top cooking accessories are all required in the kitchen.
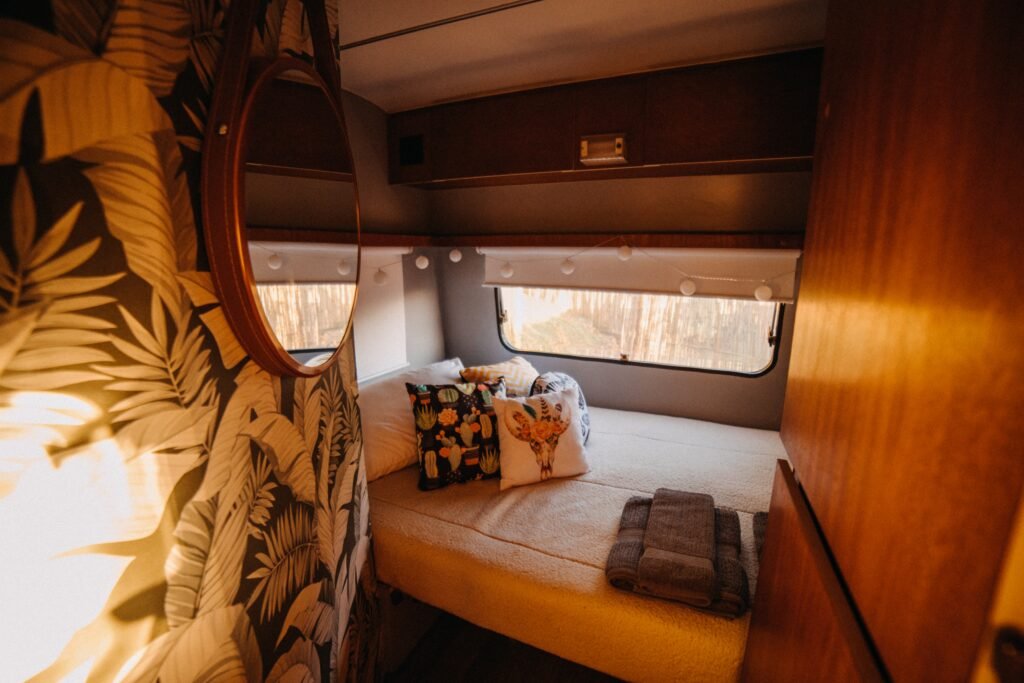
You may also wish to include a refrigerator or cool box, an oven, or space for drying dishes. Some people prefer a full bathroom in their campervan, with a shower and toilet, while others favor a toilet tucked away inside a bench, and still, others are content with neither; this is entirely up to personal choice, but if you build an internal washroom area, make absolutely sure it is entirely water – resistant.
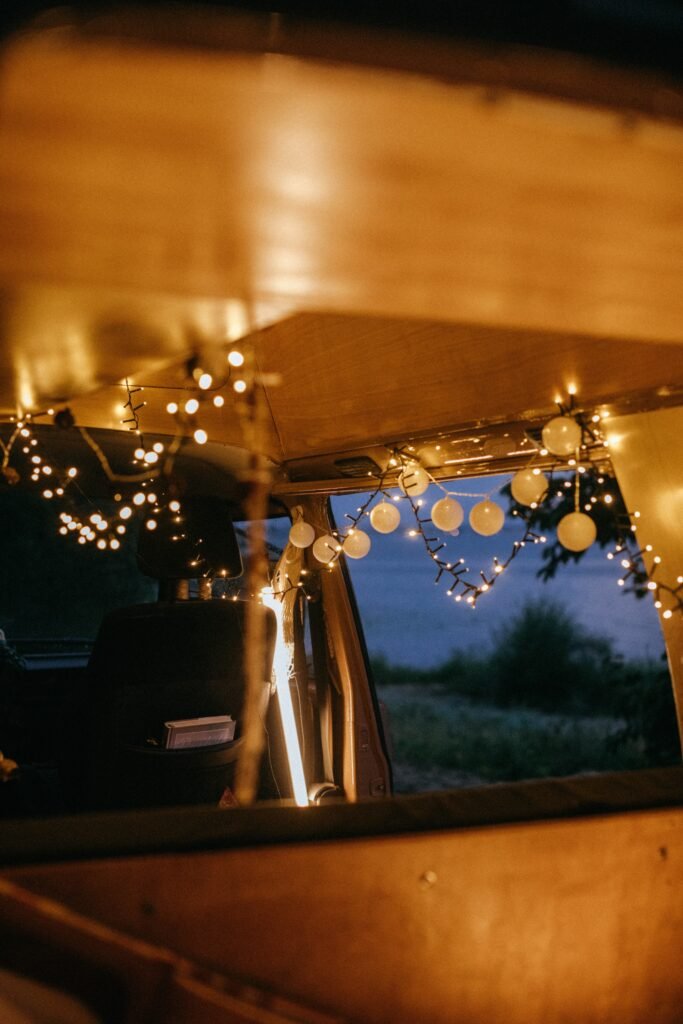
10-Lasting Details
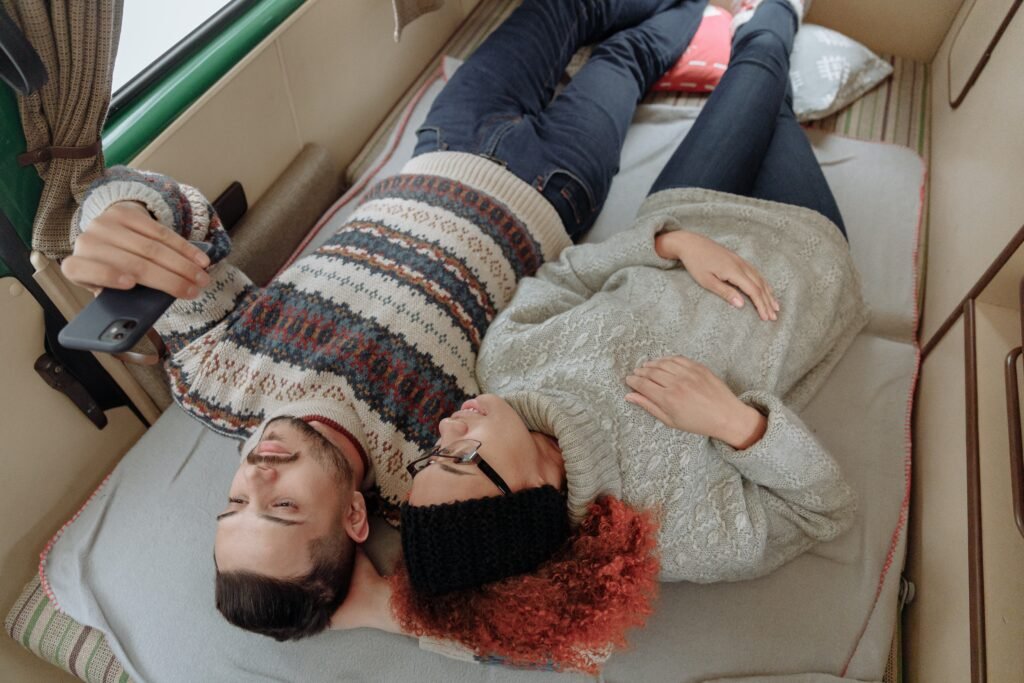
When converting a campervan from the ground up, you want it to feel like a miniature home, so don’t skimp on the details that make it so. Invest in some fairy lights, scatter cushions or a new bedding set. Attach some artwork to the walls, hang your favorite images, or decorate some details on the walls.
Once you build a campervan, you probably have spent so many hours and so much time on it that you want everything in it to be beautiful. It’s critical that you enjoy the space you’re in; after all, you’ll be spending a lot of time in your custom-built home!